Download the doll pattern Print it out. Pin it onto two overlapping pieces of felt. Using scissors, cut out the same parts for the top and bottom of the doll’s body at the same time (Figures S and T). Also cut out parts of felt such as eyes, pants, belt, eyebrows, mouth, etc. out of different colored felt.
Wool felt pieces can be joined together without sewing or thread. Simply stack the pieces and poke them with a needle. The barbs on the side of the felting needle pull the fibers together, “felting” them instead of sewing them together. Further poking will create a stronger connection. Only wool thread and felt can be used with a felting needle. Smooth acrylic thread and felt do not have the rough scales of natural fibers that can tangle and intertwine.
Tips: As you poke, use a straight pin to temporarily hold the felt piece in place over the foam, keeping your other fingers a safe distance away.
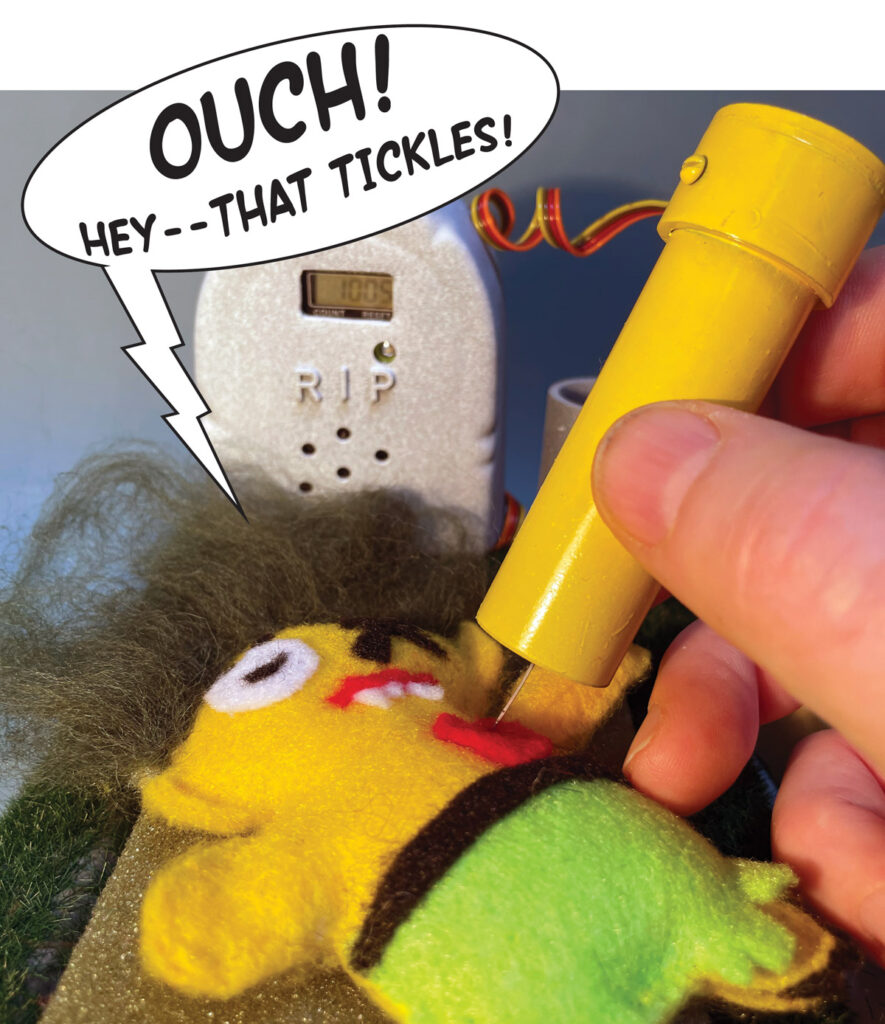
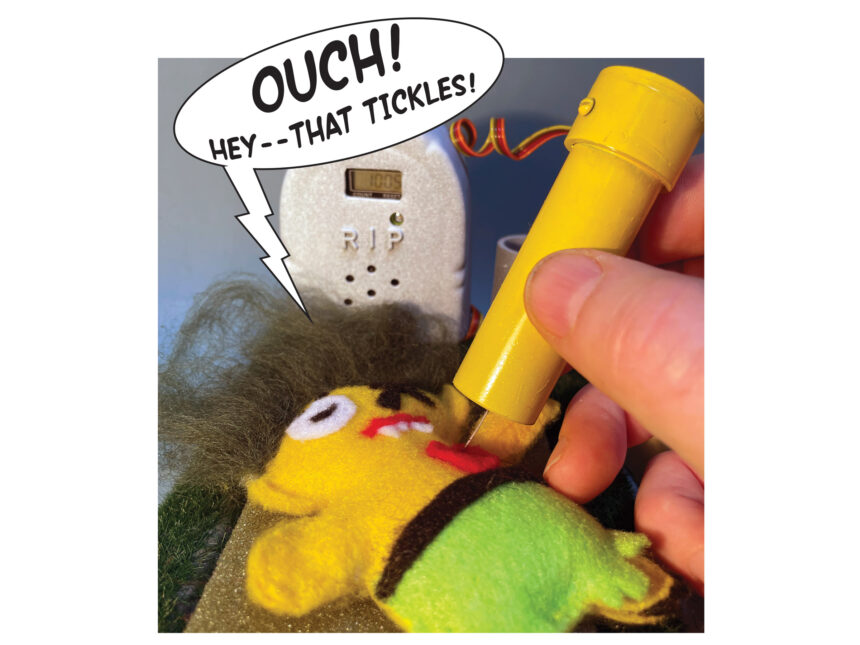
Start by adding pants, eyes and other parts to the upper body of the doll (Figures U and V). For additional finishing touches, you can also needle felt with wool yarn to create scars, stitches, monograms and other fine details. The poke counter counts your strokes and your zombie starts talking.
Then place the bottom of the doll down and poke around the edges of the body, leaving the top of the head open for now.
Carefully stuff the torso with batting or wool roving. Use a toothpick or chopstick to gently poke the stuffing into the arms and legs. If any seams open, go back and poke them again to re-stitch the felt back into place.
Add loose wool roving to create thin zombie hair (Fig. W). Fold a long loose fiber in half and sew the folded fiber between the top and bottom of the head. The loose fiber can be poked to create flat felt patches, mixed colors, dreadlocks, etc.
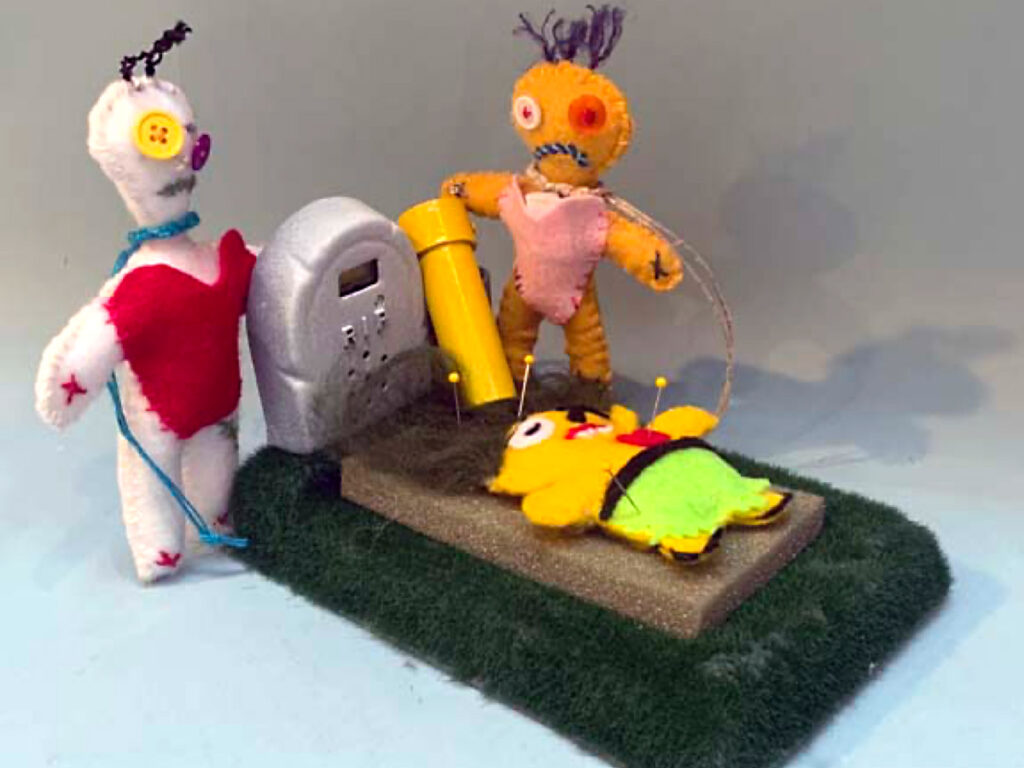
Have a mini zombie doll Halloween party. It’s graveyard mayhem! RIP — “Rest in Peace”? Or rather “Repeated Interlocking Pokes”! The gravestone counter displays the total number of Pokes used to create the piece.


